
One of my favorite things about staging is that it gives me an excuse to hoard cool, seemingly useless, treasures. Outdated or misunderstood prints and wall hangings, old postcards, clocks that don’t work, a metal ceiling fan vent from the 50’s that’s dented and rusted, and a paper mache elk head aren’t just examples of such treasures. They are actually things I have kept and stored in anticipation that one day I will find the perfect use for them.
Like kittens and puppies, these items just need a good home. A great way to use these often misunderstood pieces is to include them in a wall collage.
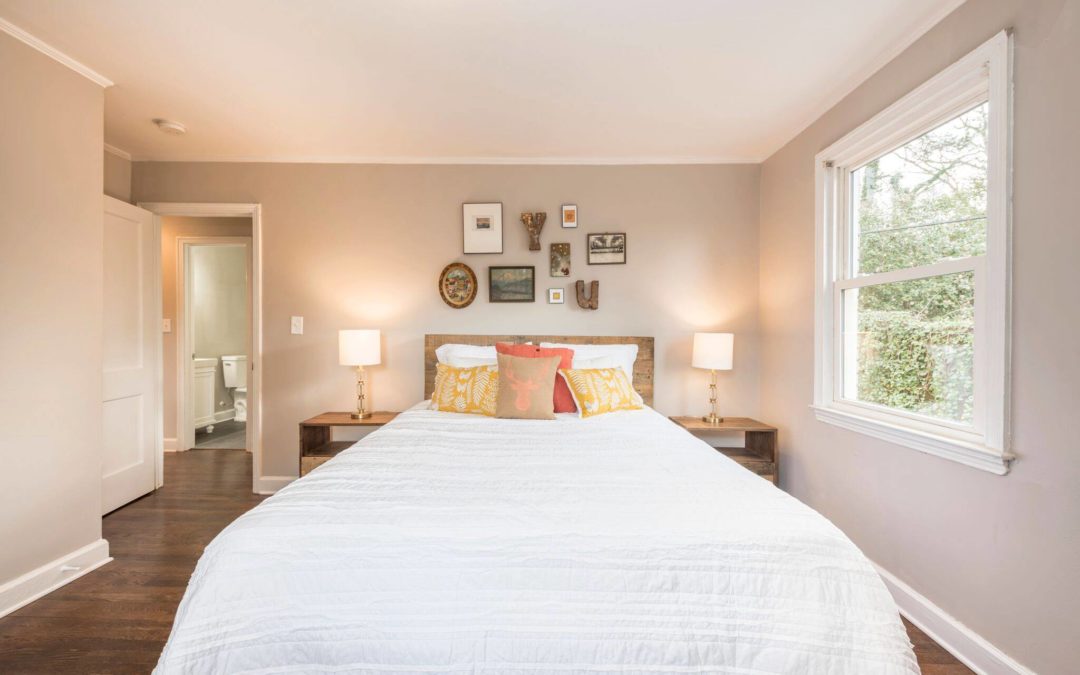
I recently posted a photo on my Facebook page of a wall collage I finished for a home I was staging. So many people messaged me about it that I thought I would help you create a wall collage of your own.

Here’s how to do it. There is a little experimenting and personal preference involved to get it ‘just right’ but here are some general rules.
First, choose your wall space. The size of the space will determine how many ‘things’ you can include in the wall collage.
Next, choose what to hang.
- Mixing the same medium is usually easiest–framed art, or photographs
- If you want a cleaner look, frame pieces that are the same size and same medium, black and white photos with B&W photos and of course with same type of frame.
- If you want a more boho (short for bohomenian) look, mix frames and mediums of art. graphic prints + photos + painted art + B&W etc. Never mind the frame type.
- If you really want creative and boho add texture. Mix in metal letters or animal skulls, macrame art, empty frames are especially cool.
- If you are like me, I have saved things from the trash that have no purpose other than they look interesting, like, fan vents old clocks that don’t work. I even saved a broken thermometer from a space heater. These are all game.
Plan it before you nail it.
- Use the floor space below the wall space you have chosen and lay your pieces out on the floor. Play with arrangement. If you’re like me you will edit and add things.
- If you’re going with the same size and type of frame for a clean look, choose a linear pattern and make sure to space evenly. Hang your first one and use as a guide for the corresponding piece beside, below and above.
- If you are using different sized frames. Multiple frames look best when based around the following shapes: rectangle, diamond or square.
- Groupings look most cohesive when frames are spaced tightly together (about 1 to 2 inches). However, if there is an extra large piece in the mix, give it a little extra room to breathe (an extra ½ to 1 inch should do).
- Start with the biggest pieces first and then work around them if you are mixing sizes.
- Plan out your collage on the floor by placing the frames on top of a big piece of butcher paper.
Fourth, take the test.
- If you think you’ve got the look you want on the floor. Outline and cut out pieces on butcher paper that match your chosen pieces and tape to wall. Feel free to move the shapes around as you like.
- Frames should hang at eye level.
- If you are adding other than flat or framed pieces, you’ll have to use your imagination a bit.
Finally, hang time.
- Once you feel confident about your collection, nail just above the cutout and replace cutout with intended hanging.
- Try not to worry too much about messing up. You can always spackle and paint.
I love collections and collages. That’s why I am so excited that wall collages are trending in the world of design. It’s given new life to my collection of misfits. Whether you want funky or measured or modern, collages are a great option to consider. And I promise you, done right, it will give your guests something to talk about!