
I am always looking for new ways to reduce my impact on our planet. I live by the reduce/reuse/recycle mindset. Lately I’ve been struggling with what to do with broken items from my staging inventory. You can’t recycle a broken lamp. You can’t reuse a broken vase in a new staging…or can you? I am discovering fun and really amazingly easy techniques to give broken things a whole new life.
Upcycling is taking something you don’t think you can use anymore and lovingly restoring its use. You can make tote bags out of old jeans, turn an old coffee table into an ottoman, and china teacups into candles. I am going to share with you how I upcycled broken lamps into fashionable new lamps in just a few easy steps.
Often, too often, in the midst of packing, moving, unpacking and putting away I will hear a crash or a crack. That cringe-worthy sound means something is broken. I just hate that sound, especially since every little piece of my staging inventory – from the couches to the shelf decoration and everything in between – is most valuable if I can reuse it.
The warehouse of the broken lamps
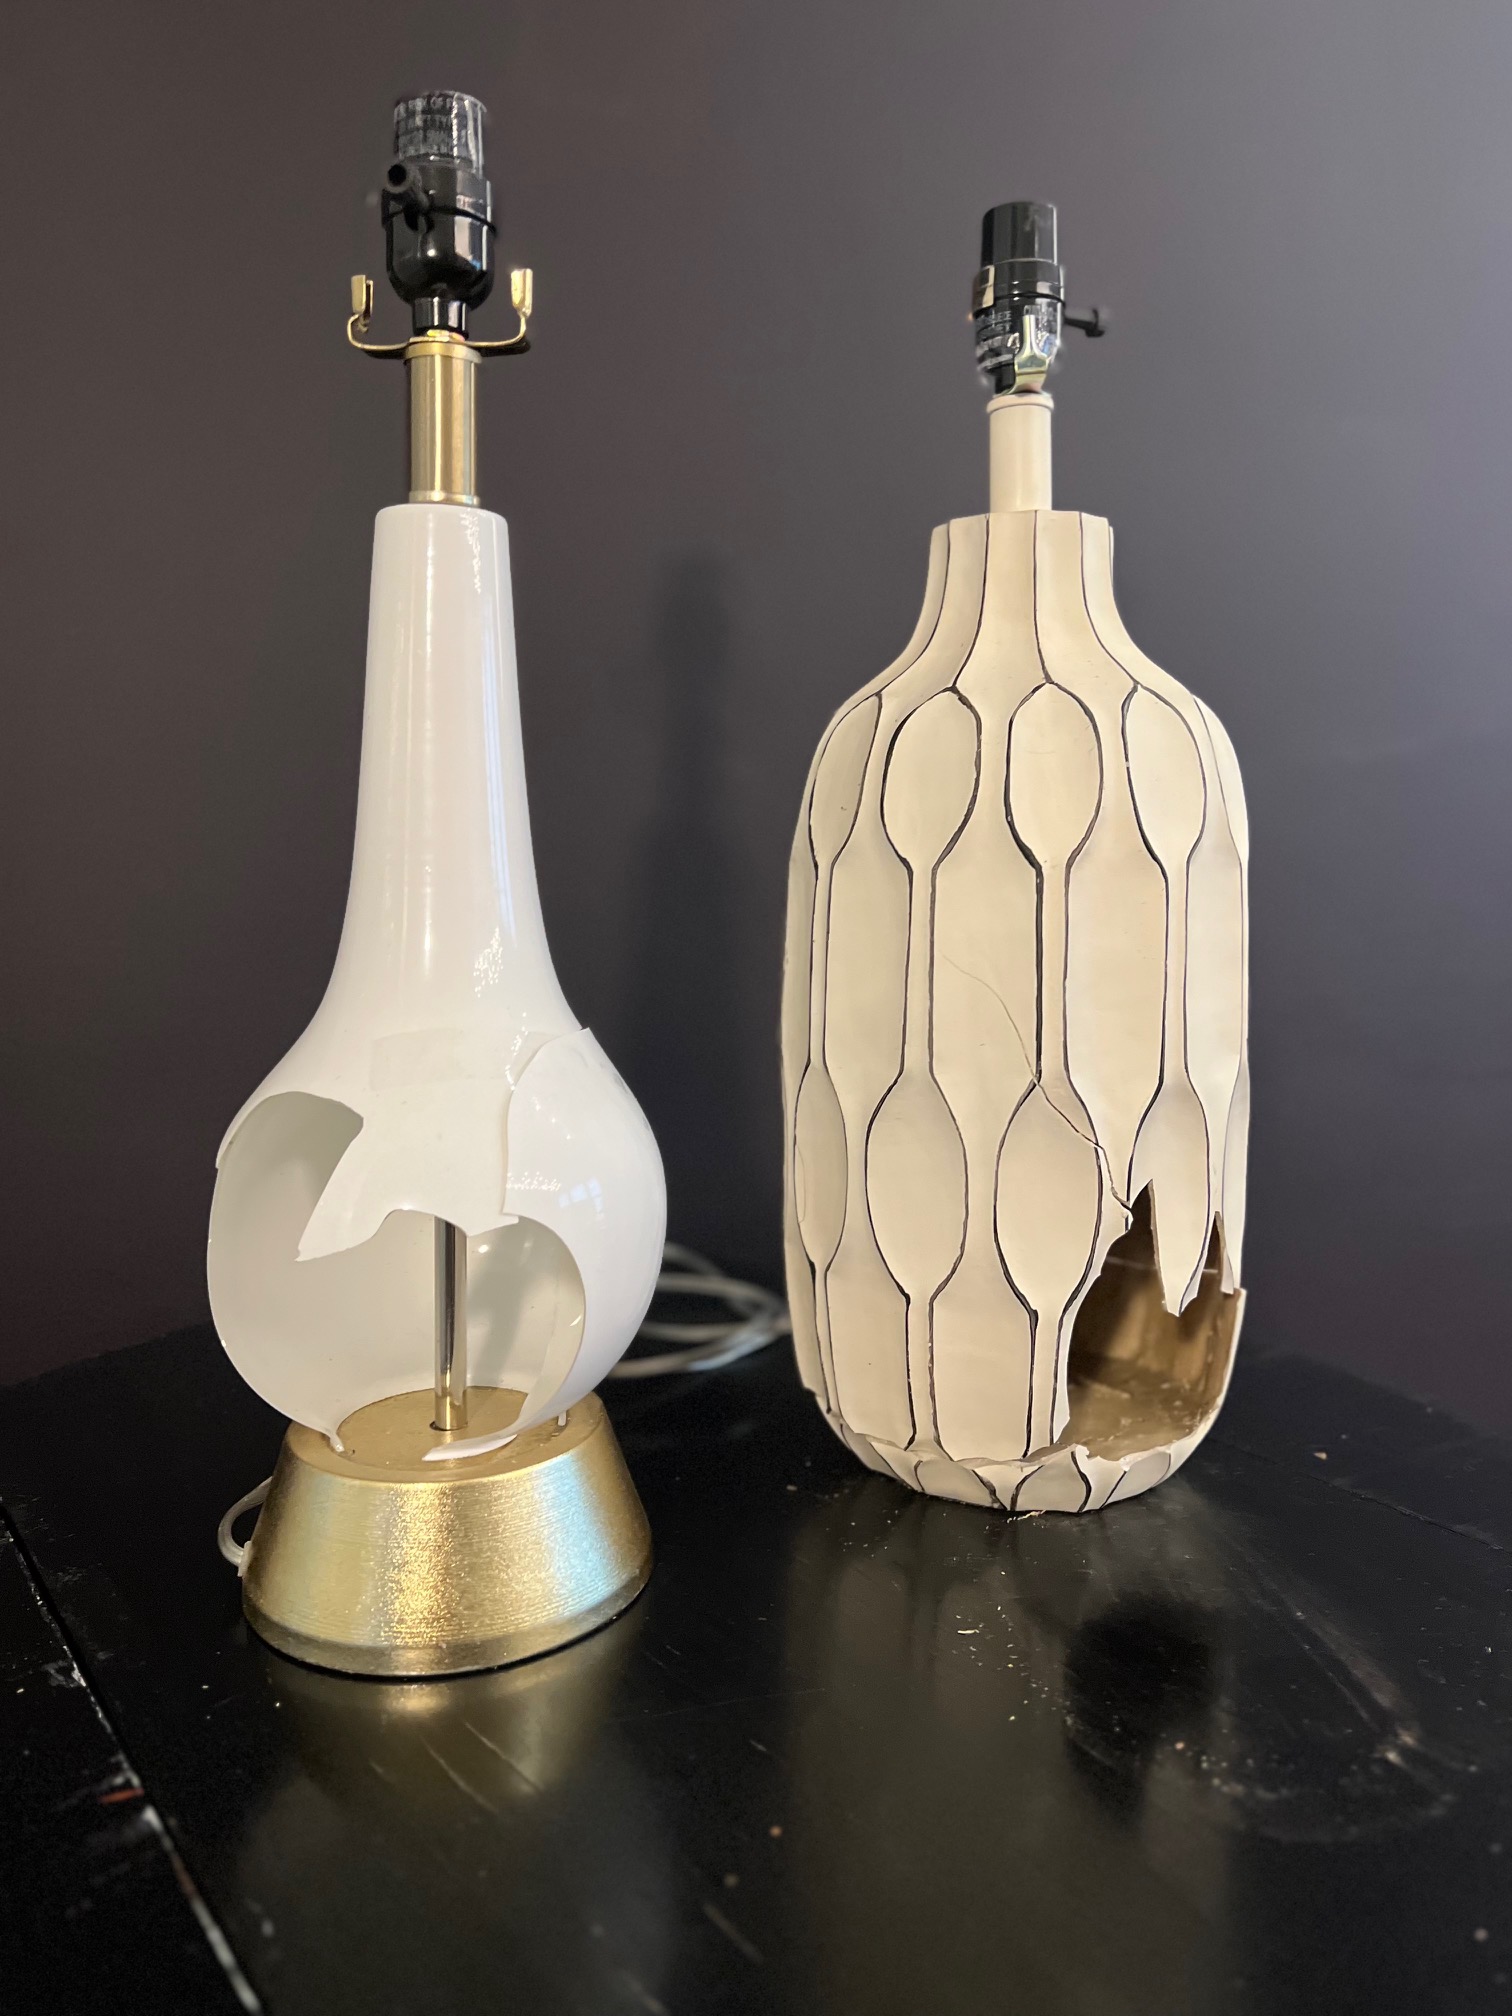
I don’t know if anyone remembers the island of misfit toys, yes maybe? Well, I have something similar in my warehouse. It’s the corner of broken but not throw-away broken items. The most noteworthy of these items are lamps. Nice lamps are so vulnerable in the staging business. Poor lamps aren’t really meant to be moved around as much as they are with me. They are delicate (glass mostly) and pretty and would just like to live their delicate lives on a side table. The thing with lamps, the half broken ones, that keeps me up at night is: they still work, they still plug in and they still light up. Man, I can’t just throw that away.
Fun, crafty way to upcycle
So, during those sleepless nights thinking about how to upcycle these lamps, I came up with some ideas and started experimenting. I have landed on an idea that worked, was really fun and actually looks really good. Which means I have new lamps for about $20 worth of materials and nothing for the landfill.
I’d like to share my lamp upcycle craft project with you. I hope it inspires other upcycle projects.
What is so wonderful about this technique is it works on all surfaces, especially glass.
Here are the steps:
- MASKING TAPE: I took the broken bits and taped them back on the body of the lamps.2.
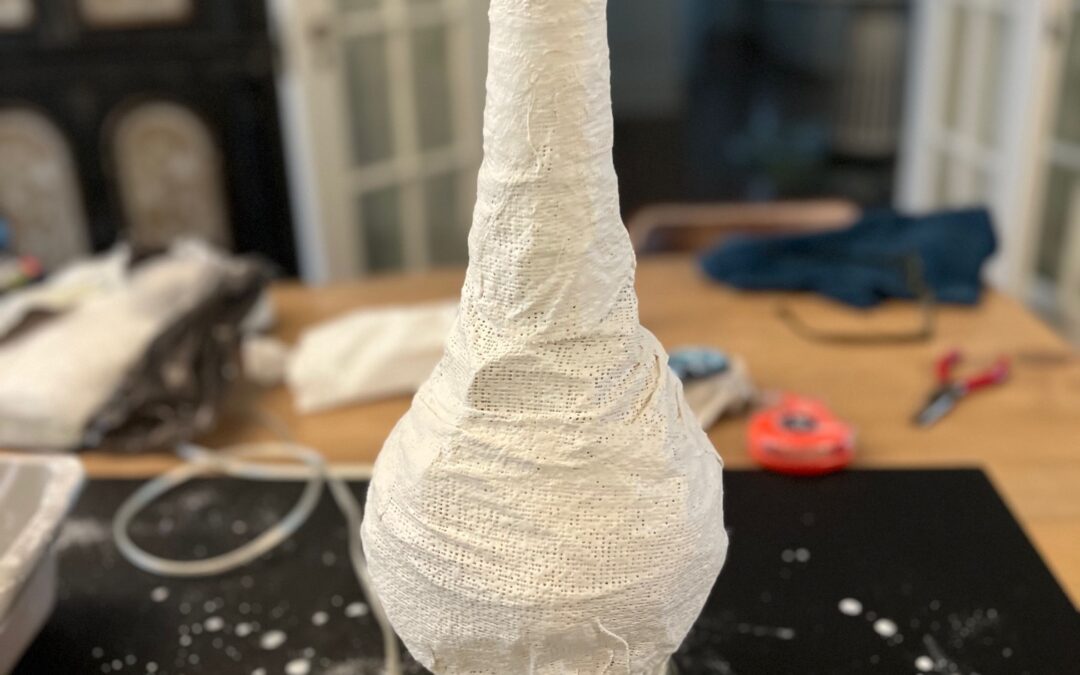
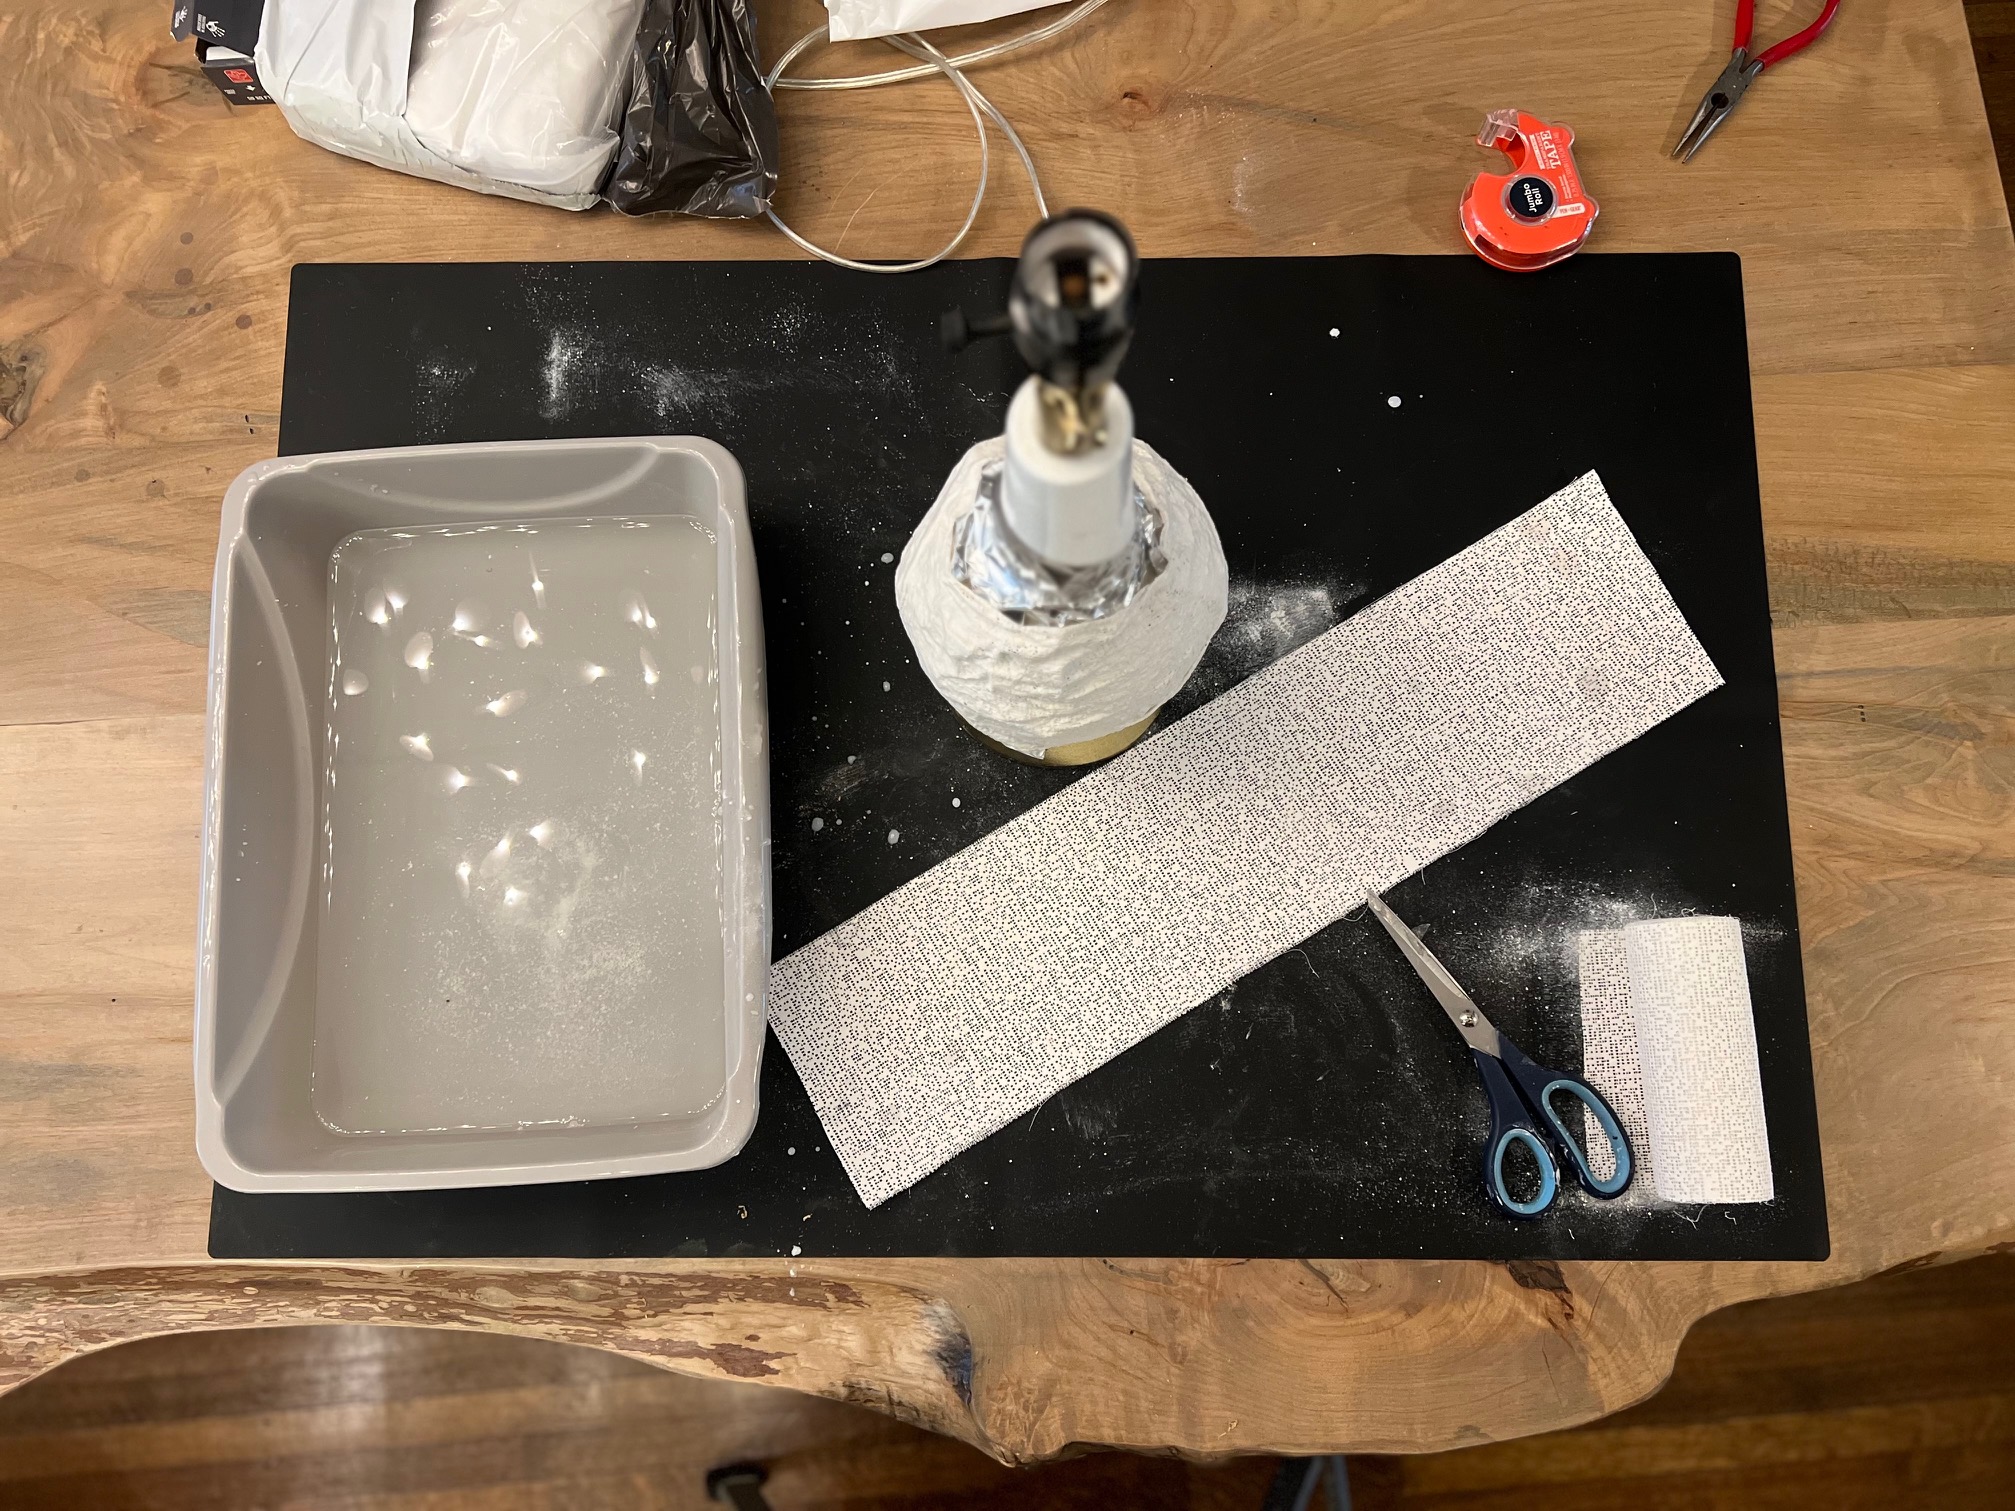
- PLASTER OF PARIS: I bought rolls of plaster of paris from Amazon. Plaster of paris is dried plaster on porous sheets of material. When you run it through water it creates a pliable molding fabric that you can apply to absolutely anything. It is so easy to work with. I just cut it into strips, hydrated it, and wound it around my lamps. It feels so good in your hands, just like clay. I found it very satisfying. My lamps were already starting to look good! I let the plaster dry for a few hours.
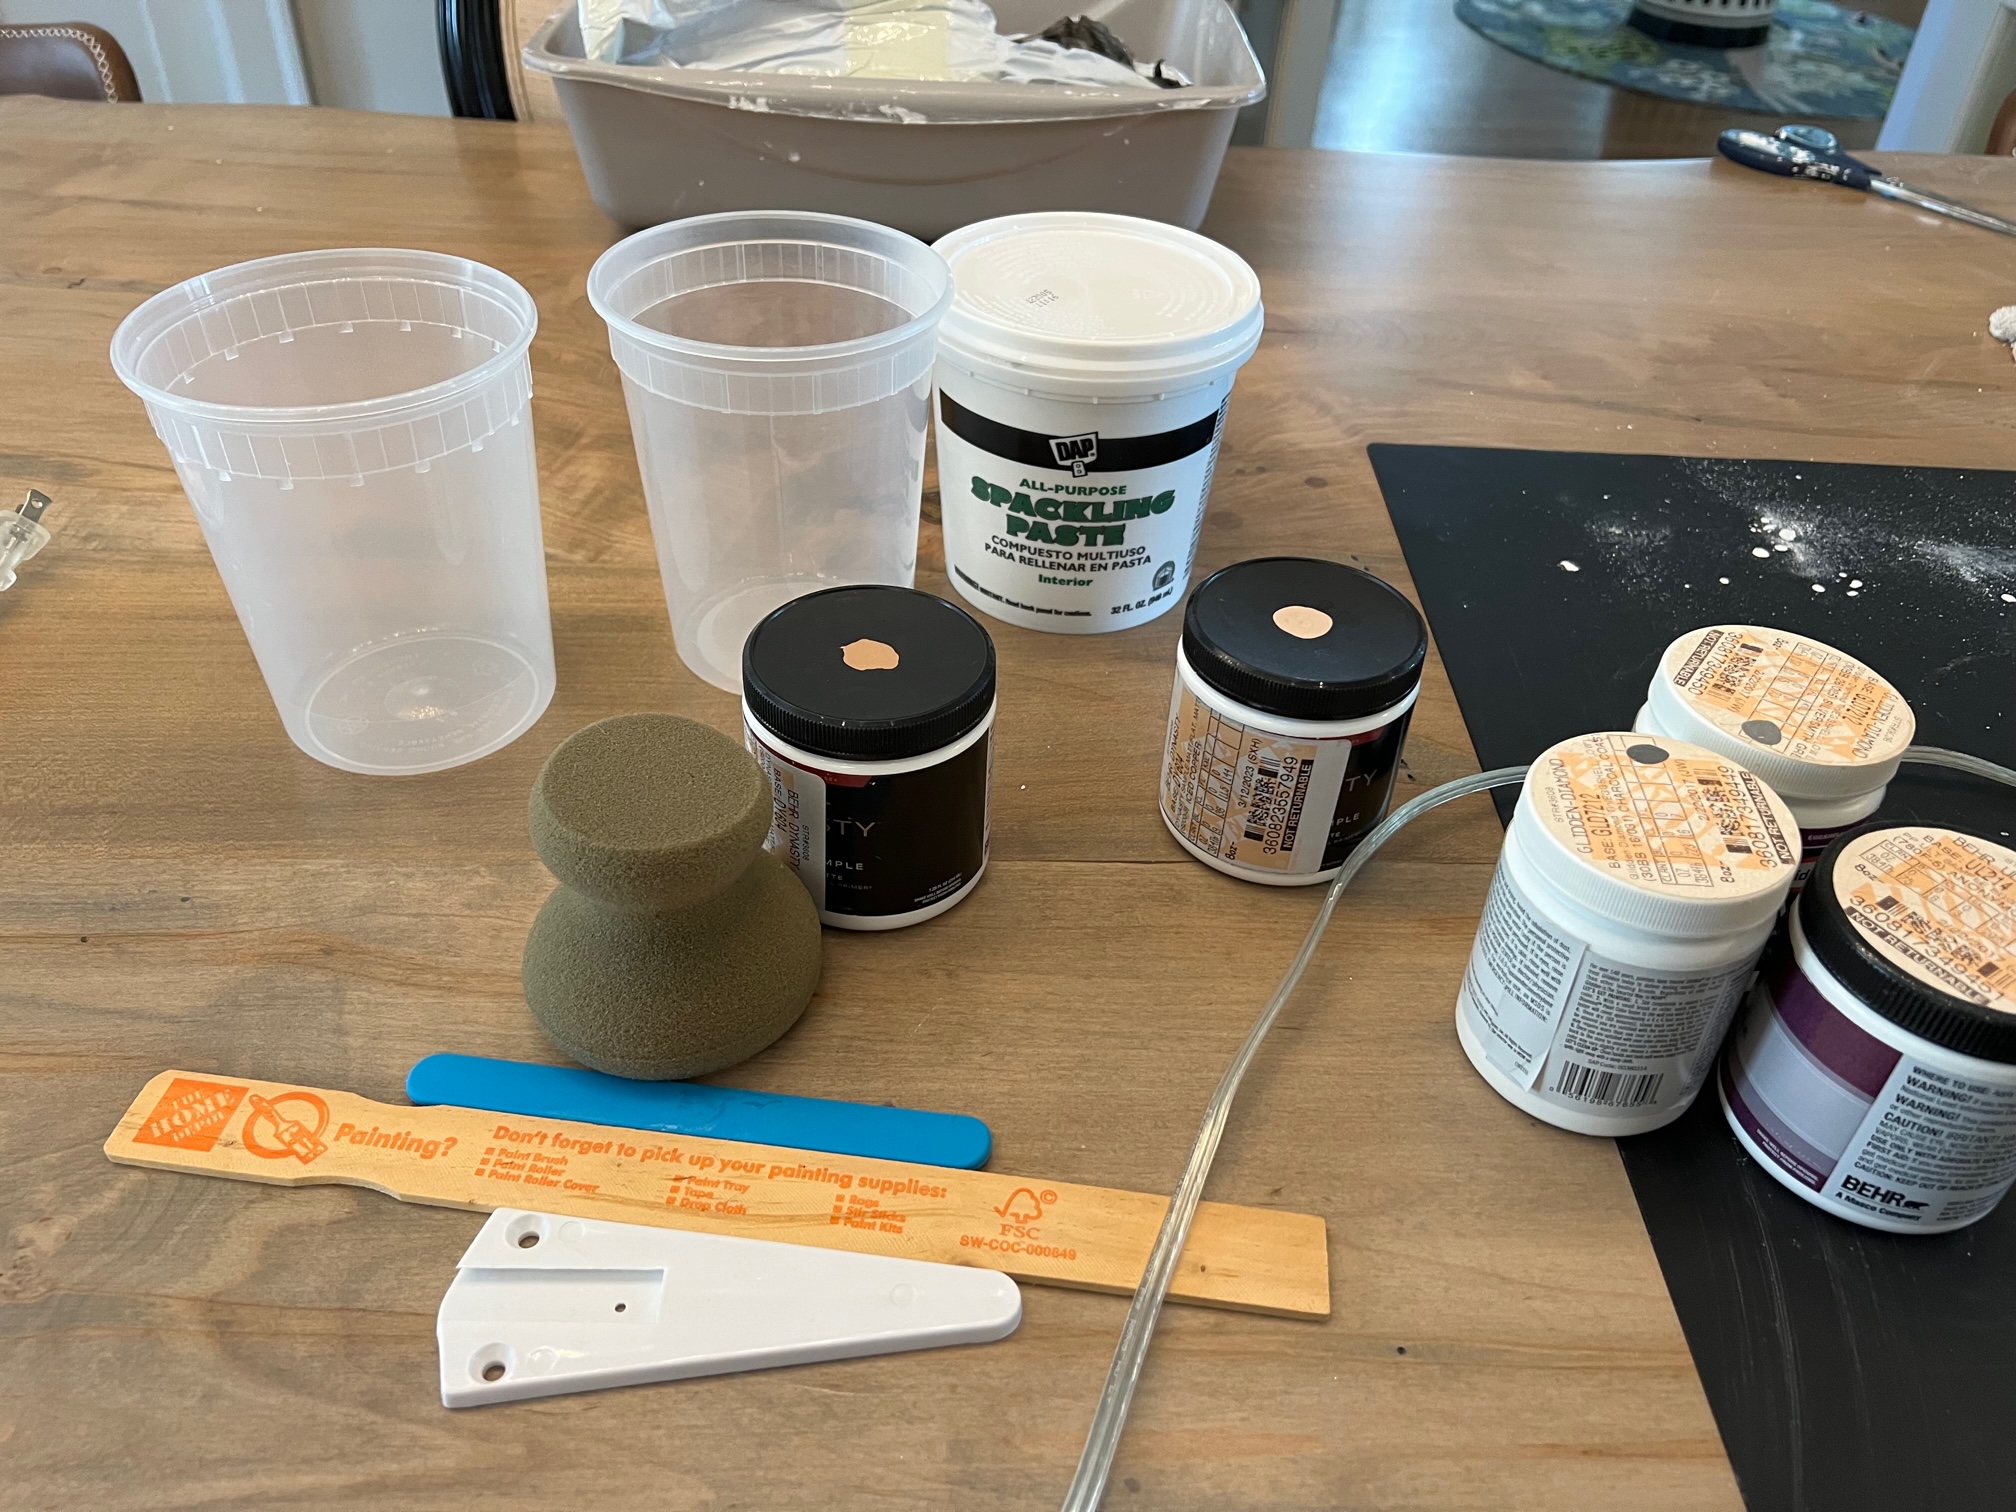
- SPACKLE PASTE: After the plaster of paris dried, I mixed wall compound or spackle paste (just not the fast-drying kind) with paint. There is no recipe for this mixture and you really can’t mess it up. Just thin the spackle paste with paint to a pancake batter texture. This can get kinda messy. Take a small putty knife and apply this mixture generously over the dried plaster. You will want a good coat. Let it dry for a few hours.
- LAYER ON THE COLOR: Now, take a paint sponge and layer on other colors. I wanted a natural, earthen tone, as if you found my lamps amongst Roman ruins next to a statue of Socrates. So, I raided my paint samples and grabbed a few shades of gray and a darker shade of terracotta. Remember, there is already a base shade that we applied with the spackle, you are layering onto that. Again, you can’t mess up here.
- SANDPAPER: Last, and I have to give my husband credit for this, after my paint dried, I used some high grit sandpaper to sand the treatment down a bit. This really made it look a bit worn and more like natural stone. It also softened the layers of color and made them look seamless.
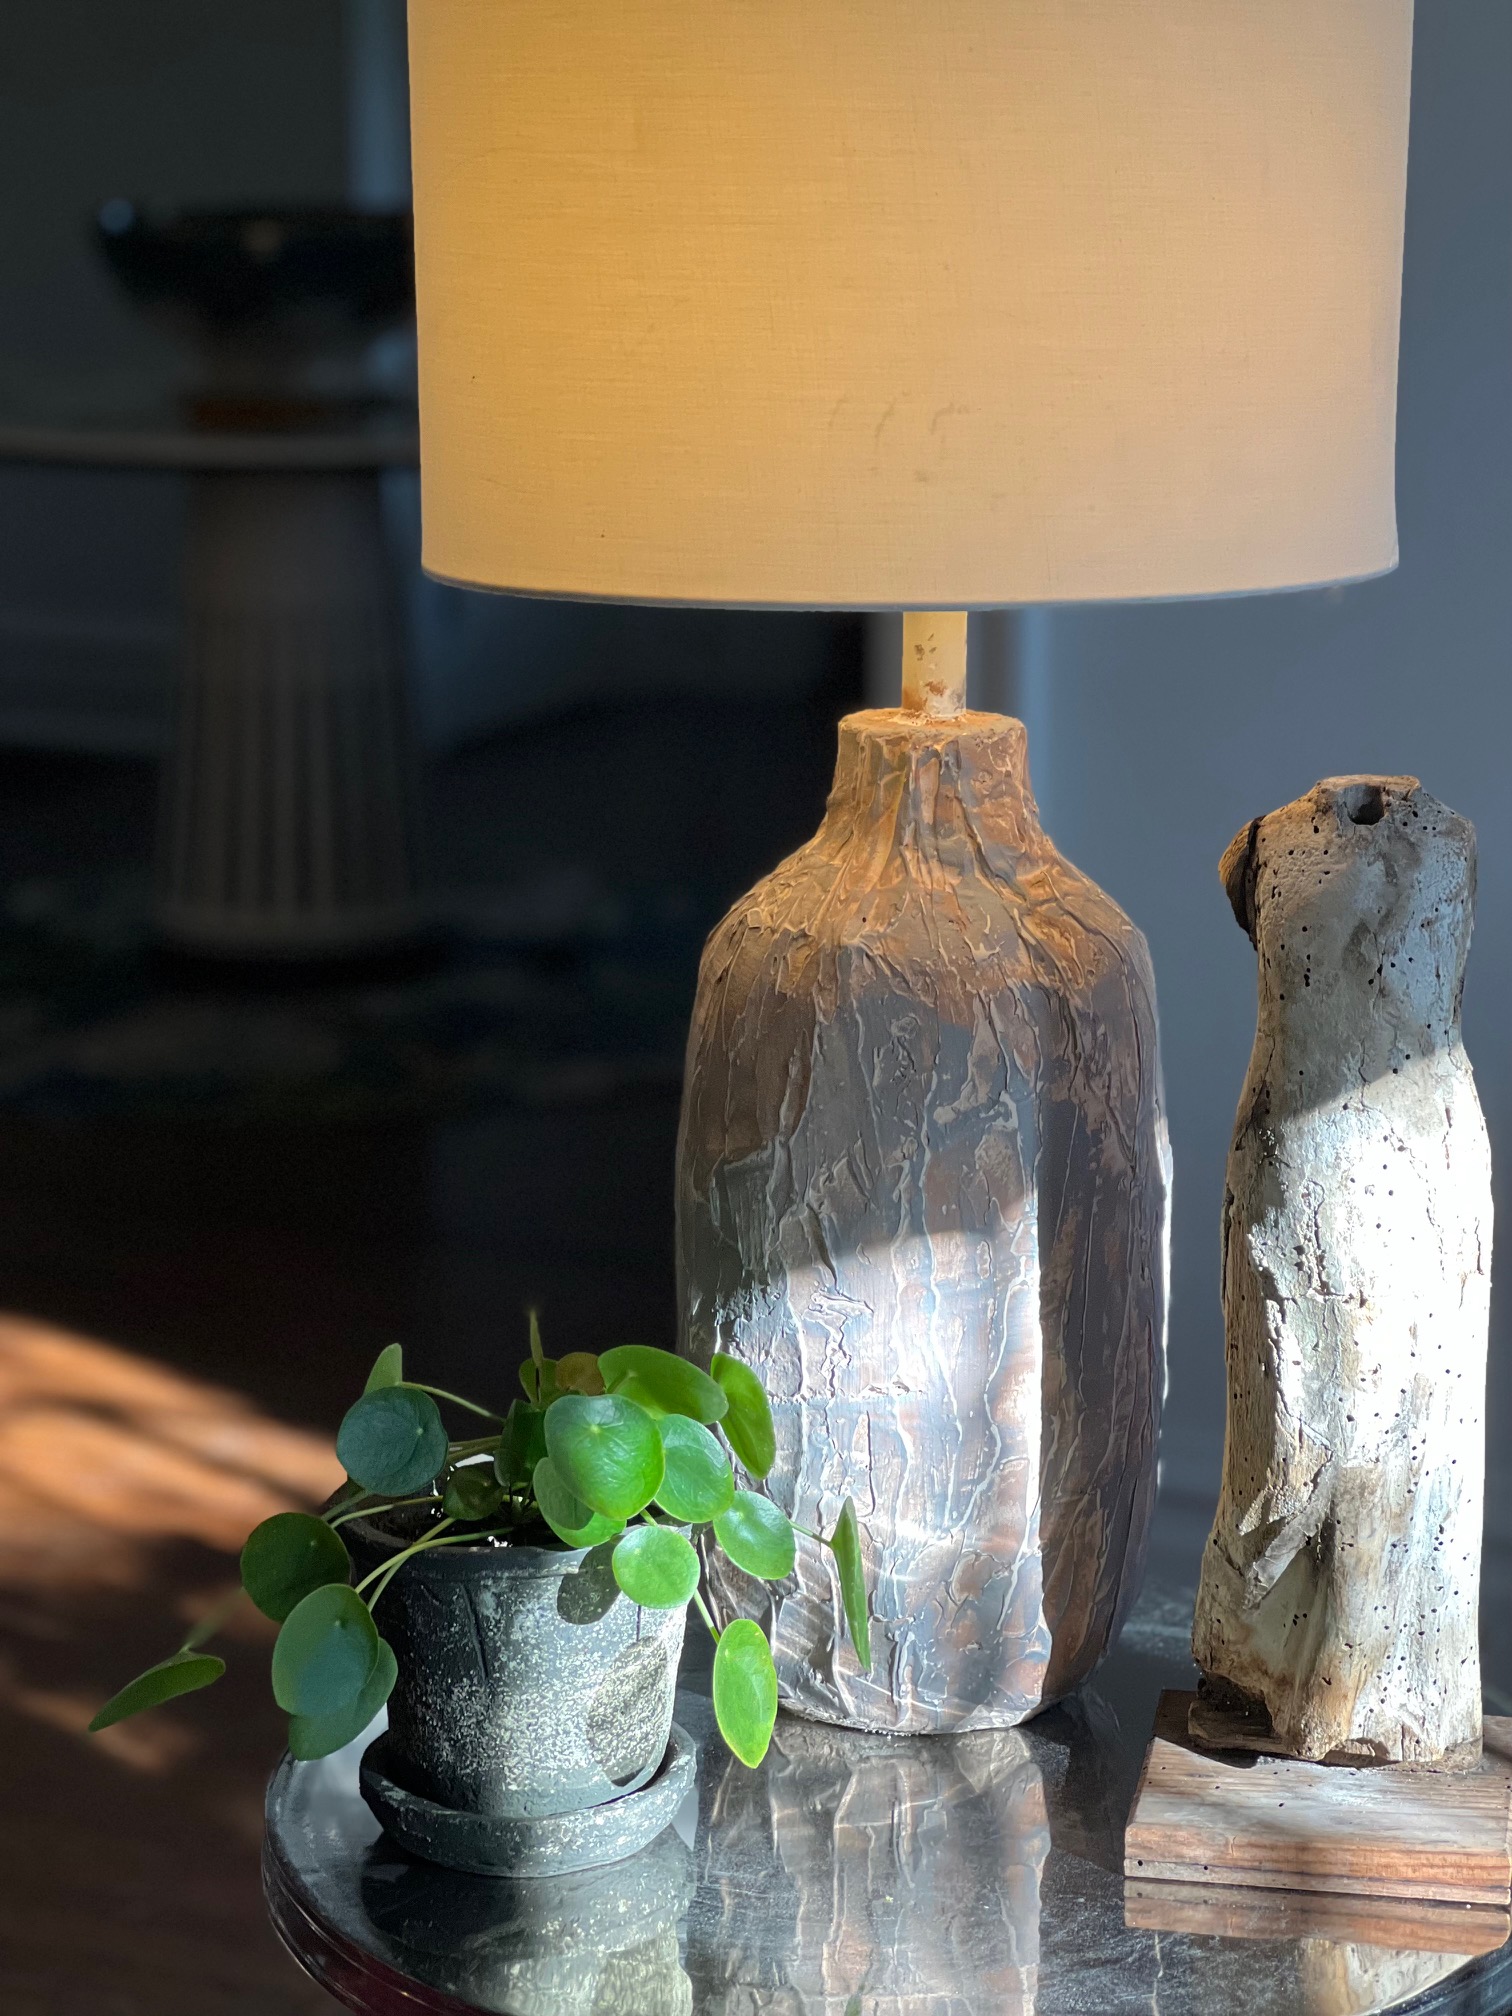
I just LOVE the way this lamp came out!
I welcome any and all ideas about upcycling. Don’t be afraid to try your own project and let me know how it goes!
Other interesting stories: